Run, Bus... RUN!
Run Bus... RUN!
Towing
Unfortunately U-Haul looked at us like a deer in headlights when we requested a bolt-on hitch for the bus. Nor could I manage to find anyone that offered a pre-made solution. (Not really that surprised. Maybe there's a good reason. Who knows, but didn't have much time to research the why, and it wasn't going to hold us up.) So, the only reasonable way to meet the need was to make one.
Thanks to some photos found on this site of towing hitch made to fit various MCI buses (that used to be available, but no longer is), and some local fabrication shops that saved us time creating the basic hitch bar and custom mounting plates, we were able to fashion them into the needed towing hitch. Eventually we planned to tow our old suburban behind the bus, as a get-around vehicle when desiring to go where the bus just wouldn't fit or, if it wasn't sensible to drive it.
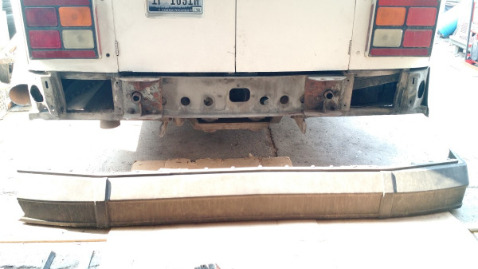
First, we had to remove the bumper. Not too difficult, but a bit heavy, as expected.
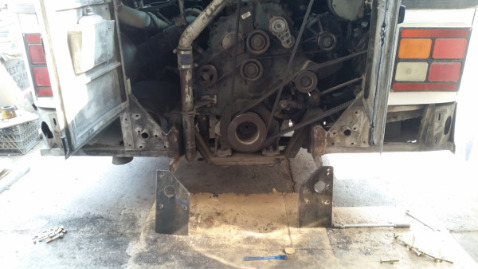
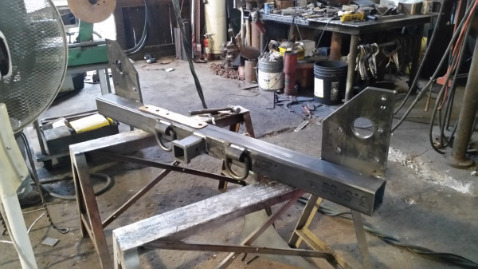
Once the bumper mounting plates were removed (behind the bumper), we had the hitch mounting plates cut, at a local shop with a plasma table, to fit the holes in the rear frame.
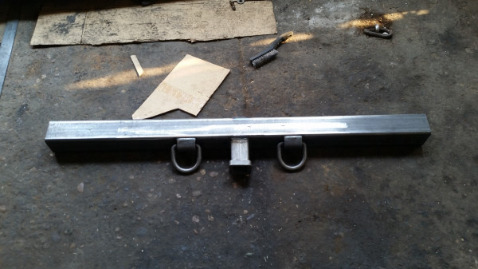
A standard hitch bar was fairly inexpensive to have fabricated at a local upfitter shop; saving lots of time and trouble.
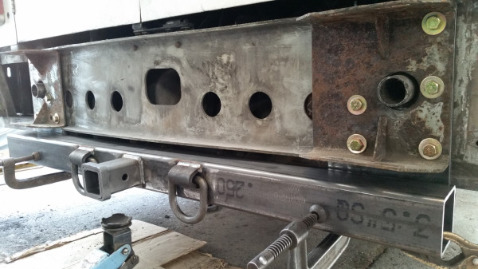
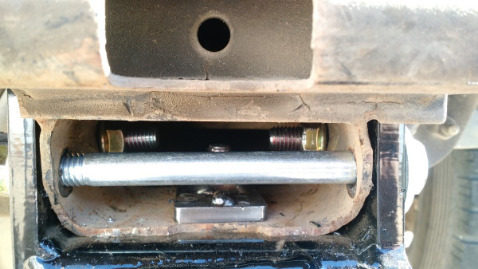
Clamps held the components together while we sandwiched the soon-to-be hitch in between the existing bumper mounting places, and (temporarily) bolted it all on again, so the parts could be adjusted and tack welded in place.
Once tacked, the only thing remaining was to permanently weld the mounting plates to the hitch bar.
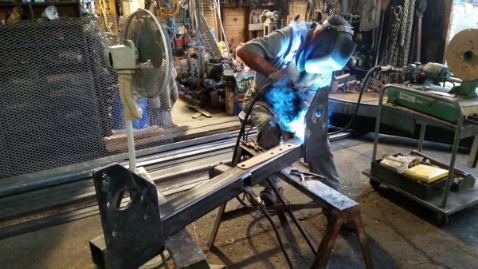
At this point in the process, I hadn't tried my hand at welding much, so relied on my father's willingness and expertise to finish it up.
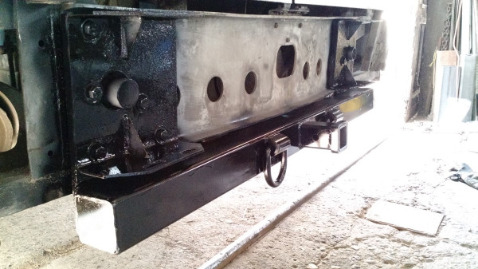
Of course, a little bit of paint never hurts (and also helps to stop corrosion).
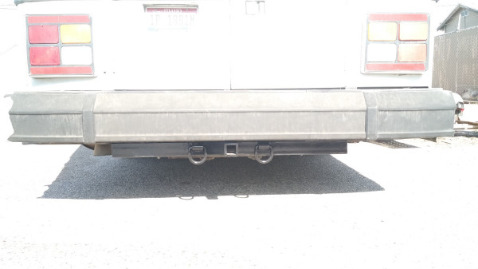
With the bumper re-installed, the hitch looks right at home. The wiring and such needed to make the suburban signals mirror the bus's was later done by a tinting/car audio shop. They used a diode kit that we ordered with the tow bar to tie into the rear lights on the bus.
The vehicle we wanted to tow (a quarter ton Chevy Suburban) also had to be readied. To start, base plates had to be installed behind the bumper.
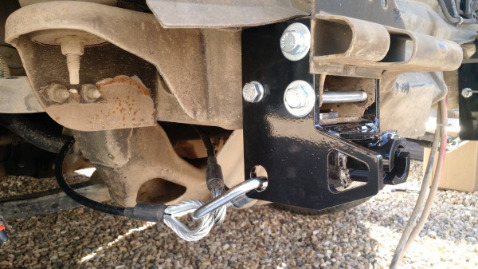
Each is bolted to the end of the frame, like, 5 times. Then, break-away cables installed. Good grief. Why not just weld them to the frame!?
Shown above, with the bumper not yet installed, they are quite an accessory to the vehicle; not one I'd be interested in removing any time soon (they're vehicle specific, anyway).

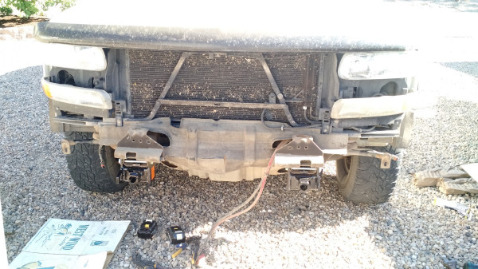
Finally finished, after about 5 hours (I'm slow, and have dull drill bits). A wiring harness that connects to the rear lights was later installed to fire in time with the bus signals.
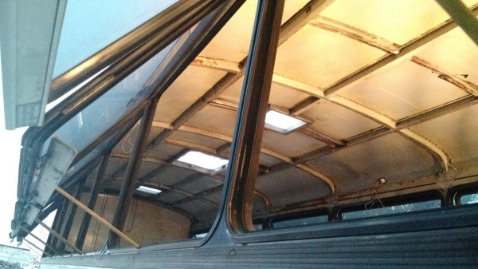
Holes in the ceiling also had to be cut (and reinforced) to support the air conditioners and fans that would eventually be placed on the roof. Thanks again, dad.
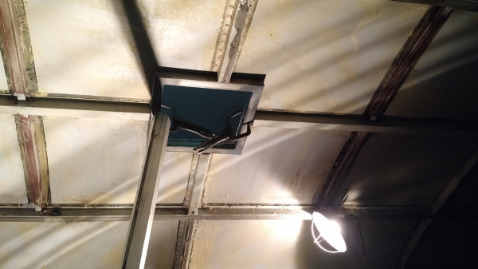
To try to maintain the straightness of the roof supports, we braced them up before welding the square tube boxes in place.
© Copyright 2017-2026 Run, Bus... Run! (RBR). All rights reserved.